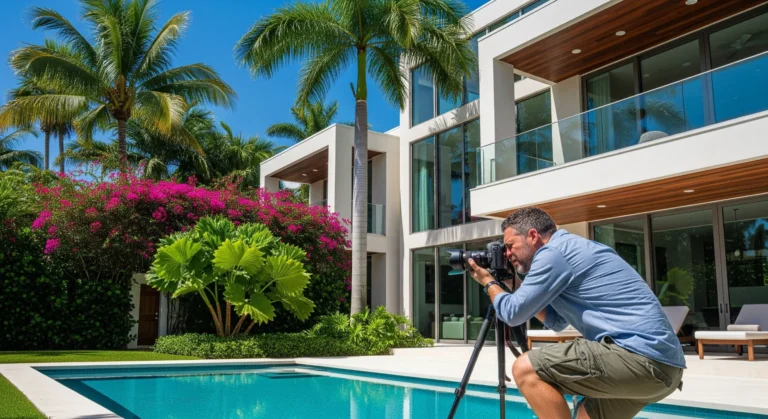

How to Prepare a Home for Real Estate Photography: A Realtor’s Guide
Learn how to prepare a home for real estate photography, from decluttering and cleaning to lighting, staging, and exterior preparation.

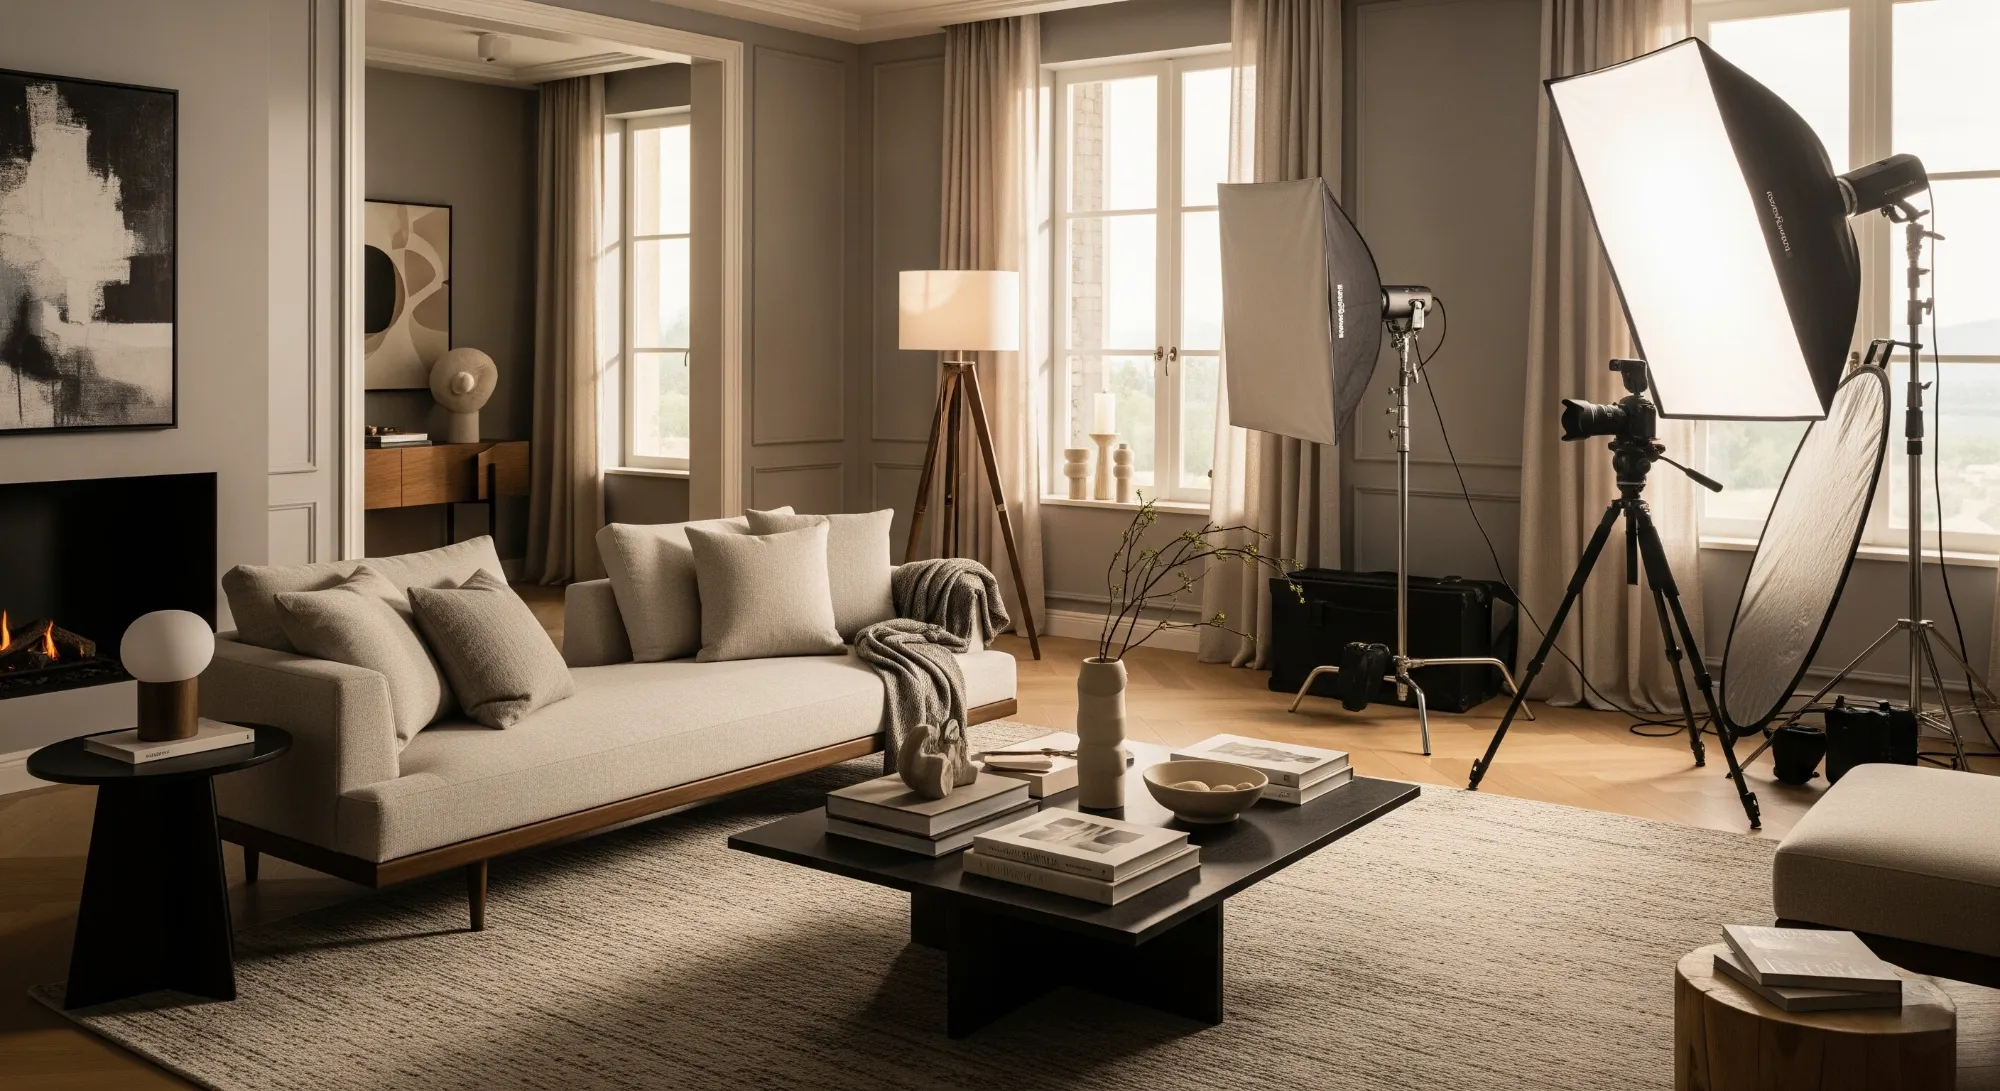
Professional real estate photography can showcase a property at its best, but even the best photographer can’t completely overcome a home that isn’t ready for the camera.
Clutter, dirty surfaces, distracting personal items, poorly arranged furniture, and overgrown landscaping can all affect how a property appears in listing photos. The National Association of REALTORS® specifically recommends cleaning, decluttering, adjusting furniture, opening blinds, and removing distracting items before a photo shoot.
For Realtors, preparing a property properly before the photographer arrives can make the shoot more efficient and give the photographer a better canvas to work with.
Here is a practical guide to getting a property photo-ready.
1. Start With a Thorough Cleaning
A camera can reveal details that may not be obvious during a casual walkthrough.
Dust on surfaces, fingerprints on appliances, dirty windows, smudges on mirrors, and marks on floors can become much more noticeable in high-resolution photographs.
Before the photo shoot, make sure the property has been thoroughly cleaned.
Pay particular attention to:
- Windows and glass doors
- Mirrors
- Countertops
- Stainless steel appliances
- Floors and carpets
- Bathroom surfaces
- Kitchen appliances
- Showers and tubs
- Baseboards and other visible surfaces
If the property is vacant, don’t assume it doesn’t need cleaning. Empty homes can actually make dust, marks, and imperfections more noticeable because there are fewer furnishings to distract from them.
Tip for Realtors: Schedule cleaning far enough ahead of the photography appointment that you have time to address anything that was missed.
2. Declutter and Depersonalize
One of the biggest differences between a home that looks good in person and one that photographs well is often how much visual clutter is present.
The camera captures everything.
Kitchen counters covered with small appliances, bathroom products scattered across the vanity, piles of mail, children’s toys, pet supplies, and excessive decorations can all compete for attention.
Before the photographer arrives, remove anything that doesn’t contribute to the room.
Pay particular attention to:
- Kitchen countertops
- Bathroom countertops
- Nightstands
- Coffee tables
- Dining tables
- Open shelving
- Refrigerator doors
- Entryways
- Bedrooms
- Home offices
Personal items should also be minimized. Family photographs, refrigerator magnets, children’s artwork, and other highly personal belongings can distract from the property itself.
NAR notes that cameras can magnify clutter and poor furniture arrangements that may not seem particularly noticeable in person.
The goal isn’t to make the home feel empty.
It’s to make the space itself the focus.
3. Make Each Room Look Larger and More Functional
Furniture can have a major impact on how a room photographs.
Too much furniture can make a space feel smaller, while poorly positioned furniture can make the layout difficult to understand.
Before the shoot, walk through each room and ask:
Does this room look as spacious and functional as it actually is?
If the answer is no, consider temporarily removing or rearranging some furniture.
You don’t necessarily need to empty the room. A few strategic changes can make a significant difference.
For example:
- Remove oversized or unnecessary furniture
- Straighten chairs and furniture
- Open pathways between rooms
- Center beds and other major furniture where appropriate
- Remove furniture that blocks architectural features
- Create a clear focal point
NAR similarly recommends paring down furniture and arranging pieces to improve the flow and visual presentation of rooms.
4. Let in the Natural Light
Natural light can be one of the most valuable visual features of a property—especially in South Florida.
Before the photographer arrives:
- Open curtains
- Open blinds
- Raise shades where appropriate
- Clean windows
- Remove unnecessary obstructions
- Make sure all light fixtures are working
For properties with attractive views, clean windows and unobstructed glass become especially important.
That said, don’t automatically open every window covering. If a window looks directly at an undesirable view, your photographer may choose to keep it partially or completely covered.
The goal is to maximize the property’s best visual features, not follow a rigid checklist.
5. Turn On the Lights and Replace Burned-Out Bulbs
Walk through the property and check every visible light fixture.
Replace burned-out bulbs and make sure lamps and fixtures are functioning properly.
During the shoot, your photographer may use a combination of natural and artificial light to create balanced exposures throughout the property.
Ceiling fans should generally be turned off during photography so their blades aren’t captured in motion.
Also check for mismatched bulbs. Where practical, consistent color temperatures can create a more cohesive appearance from room to room.
6. Give the Kitchen Extra Attention
The kitchen is one of the areas buyers tend to examine closely, so don’t let everyday items dominate your listing photos.
Before photography:
- Clear most items from countertops
- Put away small appliances
- Remove dish towels
- Empty the sink
- Hide sponges and cleaning supplies
- Clear the refrigerator door of magnets and papers
- Remove trash cans from view
- Clean stainless steel appliances
- Straighten chairs and bar stools
You don’t necessarily need a completely empty kitchen.
A few intentional decorative elements—such as a bowl of fruit or a small plant—can help the space feel inviting.
The key is intentional rather than incidental.
7. Make the Bathrooms Feel Like a Hotel
Bathrooms can be difficult to photograph when they’re filled with everyday personal items.
Before the shoot, remove:
- Toothbrushes
- Toiletries
- Razors
- Medications
- Hair products
- Cleaning products
- Laundry
- Bath toys
- Excess towels
- Trash cans
Close the toilet lid and make sure mirrors and glass surfaces are spotless.
If appropriate, leave a small number of neatly arranged towels or simple decorative elements.
Think:
clean, simple, and uncluttered.
8. Prepare the Bedrooms
Bedrooms should feel comfortable and orderly.
Make the beds with clean, neatly arranged bedding and remove anything that doesn’t contribute to the presentation.
Before the photographer arrives:
- Make all beds
- Remove clothing from floors and furniture
- Clear nightstands
- Hide chargers and cables
- Remove unnecessary furniture
- Put away children’s toys
- Open appropriate window coverings
- Turn on lamps if they contribute to the scene
If a bedroom has a particularly attractive view or architectural feature, make sure furniture isn’t blocking it.
9. Don’t Forget the Exterior
A home’s exterior is often one of the first images buyers see in a listing, so the preparation shouldn’t stop at the front door.
For the exterior:
- Move vehicles out of the driveway
- Put away garbage and recycling bins
- Remove hoses and gardening equipment
- Store children’s toys
- Clean patios and walkways
- Trim overgrown landscaping
- Straighten outdoor furniture
- Clean the pool area
- Remove unnecessary pool equipment
- Open umbrellas and arrange cushions when appropriate
Realtor.com’s seller photography checklist similarly recommends moving vehicles, putting away garbage bins, maintaining landscaping, cleaning outdoor areas, and removing toys and pool equipment.
For a Miami property, exterior preparation can be especially important because outdoor spaces are often a major part of the property’s appeal.
10. Pay Attention to the Details You Might Normally Ignore
Before the photographer arrives, do one final walkthrough with the camera in mind.
Look for things such as:
- Power cords
- Remote controls
- Trash cans
- Laundry baskets
- Pet bowls
- Pet beds
- Cleaning supplies
- Floor fans
- Space heaters
- Tissue boxes
- Excess decorative items
- Open closet doors
- Crooked artwork
- Personal documents
- Visible valuables
NAR recommends taking practice photos with a phone or camera before the professional shoot because doing so can reveal clutter and distractions that might otherwise be overlooked.
This is an excellent final check.
Walk into each room from the doorway, take a quick photo, and look at what the camera sees.
You may notice something you didn’t see while standing in the room.
What Realtors Should Do Before the Photographer Arrives
As the Realtor, you don’t necessarily need to do all of the physical preparation yourself.
Your job is to set expectations and communicate the preparation requirements to the seller early.
Ideally, give the seller a preparation checklist when the photography appointment is scheduled rather than the morning of the shoot.
This gives them time to:
- Schedule cleaning
- Declutter
- Make minor repairs
- Arrange landscaping
- Hide personal belongings
- Prepare pets
- Move vehicles
- Address anything else that requires advance planning
A good preparation process can also make the photography appointment itself more efficient.
And that’s important when you’re working with a busy listing schedule.
What Your Photographer Can—and Can’t—Fix
Professional photographers can do a lot during the shoot and in post-production.
They can control composition, perspective, exposure, lighting, and other aspects of the final image. Depending on the service, certain distractions can also be digitally removed or corrected.
But editing shouldn’t be viewed as a substitute for preparation.
A photographer can’t digitally transform every cluttered room into a clean one, remove every personal item, or make neglected landscaping look freshly maintained.
The better the property looks before the camera comes out, the more effectively the photographer can showcase it.
Get the Real Estate Photography Pre-Shoot Checklist
Preparing a listing for photography doesn’t have to be complicated. Use our Real Estate Photography Pre-Shoot Checklist to help your sellers prepare each room, the exterior, and the final details before photography day.
View the Real Estate Photography Pre-Shoot Checklist
Ready for Your Real Estate Photography Shoot?
Once the property is clean, organized, and photo-ready, your photographer can focus on what they do best: capturing the property in its best light.
At Golden Pixxel, we provide professional real estate photography and visual media designed to showcase properties across South Florida.